Core Chiropractic Brighton, 2 Circus Parade, New England Road, Brighton, BN1 4GW
01273 933 170

Category Archives: STRETCHES

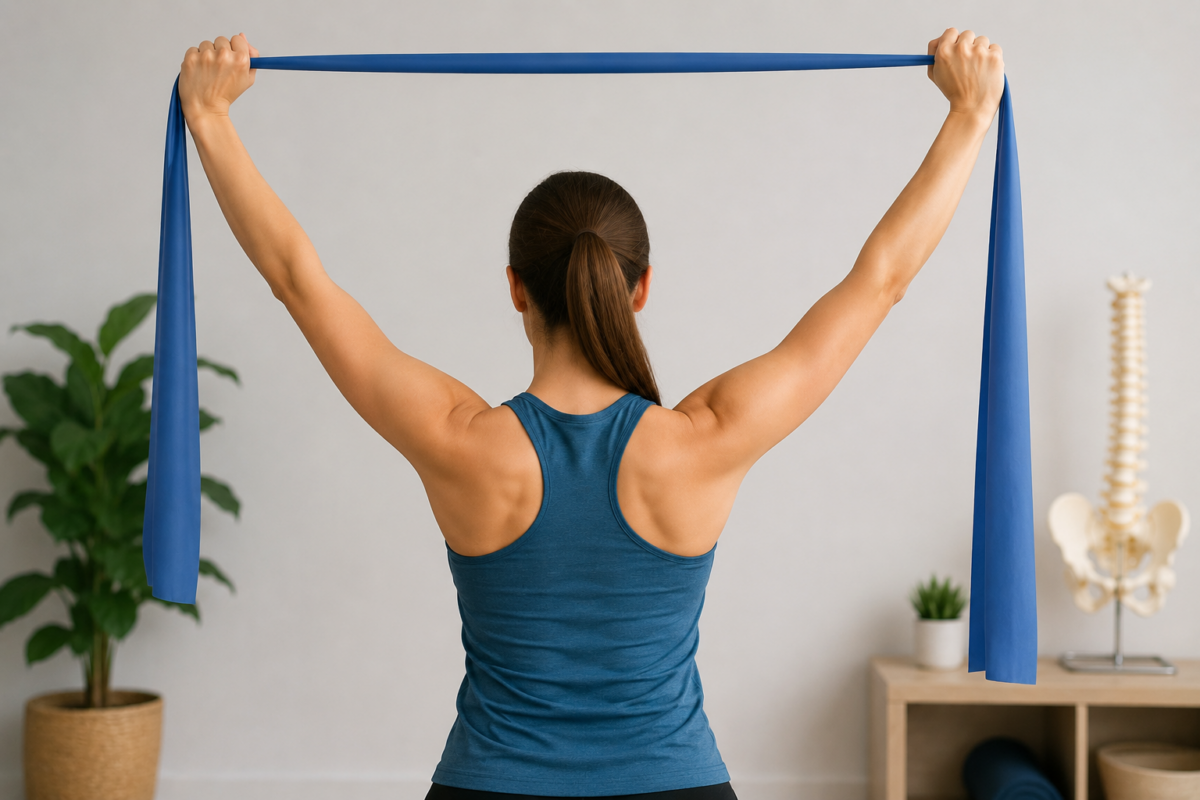
External Rotator Cuff Stretch

Revitalize Your Shoulders: The Essential Guide to External Rotator Cuff Stretches

Whether you’re a swimmer training at the Prince Regent Complex or a professional navigating the “tech-neck” challenges of remote work in Brighton, shoulder health is non-negotiable. At Brighton Physiotherapy, we see a high volume of patients struggling with impingement and instability. One of the most effective ways to combat this is by mastering a stretch specifically designed for the external rotator cuff muscles.


Understanding Your Rotator Cuff

The rotator cuff is a group of four muscles—the supraspinatus, infraspinatus, teres minor, and subscapularis. While the “internal” rotators are often overworked by typing and driving, the external rotators (located at the back of the shoulder) often become tight and restricted. This imbalance is a leading cause of “rounded shoulders” and chronic aches. In this context, utilizing rotator cuff stretches that target the external muscles is helpful for long-term shoulder health.

The “Doorway” External Rotation Stretch

This is our favorite clinical variation because it is safe, effective, and requires no special equipment. Furthermore, the doorway method is an excellent choice to focus on stretching the external rotator cuff area.

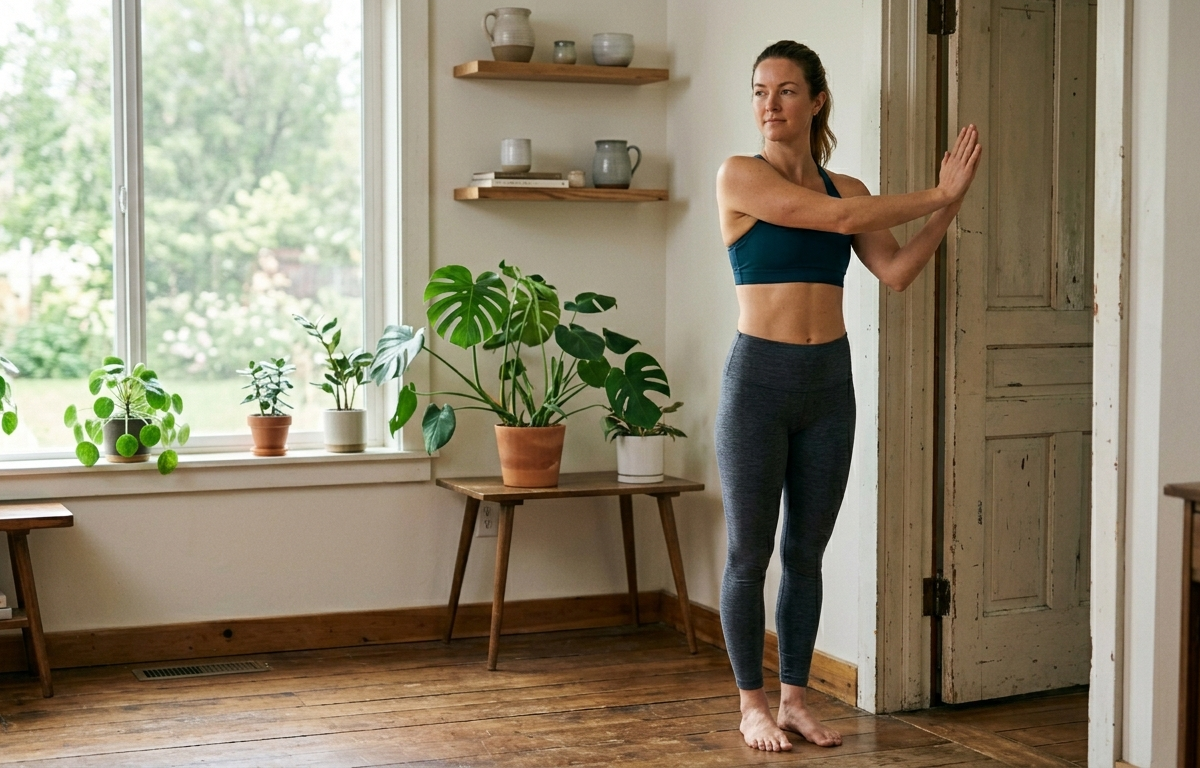
  1. The Setup: Stand in a doorway or next to a sturdy pillar. Bend your elbow to 90 degrees, keeping it tucked firmly against your ribs.
  2. The Anchor: Place the back of your wrist or a light weight against the doorframe.
  3. The Rotation: Slowly rotate your entire body away from your anchored arm while keeping the elbow pinned to your side.
  4. The Sensation: You should feel a deep, controlled stretch across the front of the shoulder and into the shoulder blade.
  5. Duration: Hold for 30 seconds per side, repeating three times.

Why It Works for Brighton Locals

Living an active lifestyle on the coast means your shoulders take a beating—from paddleboarding at the seafront to carrying heavy bags through the Lanes. By performing this external rotator cuff stretch daily, you:

  • Prevent Impingement: Create space in the shoulder joint to avoid “pinching” during overhead movements.
  • Correct Posture: Open up the chest and pull the humerus (arm bone) back into its proper socket.
  • Boost Performance: Increase the range of motion for sports like tennis or golf.

Warning: If you feel sharp, radiating pain down the arm, stop immediately. This may indicate a tear or nerve compression that requires a professional assessment.

Expert Care at Brighton Physiotherapy

Don’t let shoulder stiffness limit your lifestyle. Our clinicians specialize in biomechanical analysis to find the root cause of your tension. Contact Brighton Physiotherapy today to book your consultation and get your shoulders back in sync. For persistent discomfort, we recommend discussing options like external rotator cuff stretches with your physiotherapist.

Do you find your shoulder pain is worse in the morning or after a long day at your desk? If so, considering rotator cuff stretch routines—especially those that externally rotate the shoulder—may provide relief.

External Rotation Shoulder Stretch (overhead stretch with cane)

Optimize Your Overhead Reach: The External Rotation Shoulder Stretch with Cane

For the active community in Brighton—from the sea swimmers at the West Pier to the racket sports enthusiasts at Withdean—shoulder mobility is the key to longevity. One of the most frequent limitations we see at Brighton Physiotherapy is a lack of overhead external rotation. When this movement is restricted, activities like reaching for a high shelf or performing a tennis serve can lead to painful impingement.

The External Rotation Shoulder Stretch using a cane (or a broomstick) is a clinical gold standard for safely expanding your range of motion.


Why Use a Cane?

Unlike “passive” stretches where you gravity-hang, using a cane allows for precise, controlled leverage. It enables you to push the shoulder into a deeper range of external rotation while keeping the joint centered in the socket. This is particularly beneficial for those recovering from “frozen shoulder” (adhesive capsulitis) or post-operative stiffness.

How to Perform the Overhead Cane Stretch

To maximize results and protect your rotator cuff, follow this guided technique:

  1. The Setup: Stand tall or sit upright. Hold a cane (or PVC pipe) in both hands.
  2. Position the Target Arm: Lift your affected arm so your elbow is at shoulder height, bent at a 90-degree angle (the “high-five” position).
  3. The Leverage: Hold the bottom of the cane with your “good” hand. Pass the top of the cane behind your target arm’s elbow and grasp the top with the target hand.
  4. The Stretch: Using your bottom hand, gently push the cane forward. This will leverage your target hand and forearm backward, rotating the shoulder externally.
  5. Hold: Keep your shoulder blade tucked down and back. Hold for 30 seconds, breathing into the tension.

Clinical Benefits for Brighton Patients

  • Impingement Prevention: Clears space under the acromion bone to prevent “pinching.”
  • Postural Correction: Counters the internal rotation caused by long hours of cycling or office work.
  • Enhanced Athleticism: Vital for improving the “cocking phase” in throwing or overhead sports.

Physio Note: If you feel a sharp pinch in the top of the shoulder, reduce the height of your elbow slightly. The stretch should feel like a deep “opening” in the front of the joint.

Professional Guidance at Brighton Physiotherapy

If you are experiencing “clicking” or sharp pain during overhead movements, a DIY approach may not be enough. At Brighton Physiotherapy, we provide comprehensive shoulder screens to differentiate between simple tightness and structural issues like labral tears.

Reclaim your overhead mobility today—contact our Brighton clinic for an expert consultation.

Peroneus Stretch | Brighton Physiotherapy

Peroneus Stretch | Brighton Physiotherapy

The peroneus stretch is an important exercise used to improve flexibility and relieve tension in the peroneal muscles, which are located along the outer side of the lower leg. These muscles, called the peroneus longus and peroneus brevis, play a major role in stabilizing the ankle and supporting foot movement during activities such as walking, running, jumping, and balancing. Because these muscles are heavily involved in daily movement, they can become tight or overworked, especially in athletes, runners, dancers, or individuals who spend long periods standing. If you’re interested in learning more about the benefits and proper technique of the Peroneus Stretch, the following guide will explain how to safely and effectively perform it.

One of the most common ways to perform the peroneus stretch is by sitting on the floor with both legs extended. The ankle is gently rotated inward while the toes are pointed slightly downward. This movement stretches the outer calf and ankle region where the peroneal muscles are located. The stretch should be held for around 20 to 30 seconds and repeated several times on each leg. Proper breathing and controlled movement are important to avoid strain or discomfort. The stretch should feel mild and relaxing rather than painful.

Regular practice of the peroneus stretch offers several physical benefits. It helps increase flexibility and range of motion in the ankle joint, which can improve balance and overall movement efficiency. Stretching the peroneal muscles may also reduce the risk of ankle sprains and muscle tightness caused by overuse. In rehabilitation settings, the stretch is often recommended after minor ankle injuries to restore mobility and support recovery.

In addition to injury prevention, the peroneus stretch can improve circulation and reduce muscle fatigue after exercise. It is commonly included in warm-up and cool-down routines for sports and fitness activities. By maintaining flexible and healthy peroneal muscles, individuals can support better posture, stability, and lower-leg function. Consistently performing this simple stretch contributes to long-term ankle health and improved physical performance in everyday activities and athletic movement.

Pigeon Stretch | Brighton Physiotherapy

Pigeon Stretch | Brighton Physiotherapy

The pigeon stretch is a popular mobility exercise often recommended in chiropractic care to improve flexibility, reduce muscle tension, and support spinal alignment. This stretch primarily targets the hips, glutes, and lower back, which are areas commonly associated with stiffness and discomfort due to prolonged sitting, poor posture, or physical strain.

In chiropractic practice, maintaining proper movement in the hips and pelvis is essential for overall spinal health. Tight hip muscles can create imbalance in the pelvis, placing additional stress on the lower back and surrounding joints. The pigeon stretch helps release tension in the piriformis muscle and hip rotators, improving mobility and promoting better posture. Chiropractors may include this stretch as part of a rehabilitation or wellness program for patients experiencing lower back pain, sciatica, or reduced flexibility.

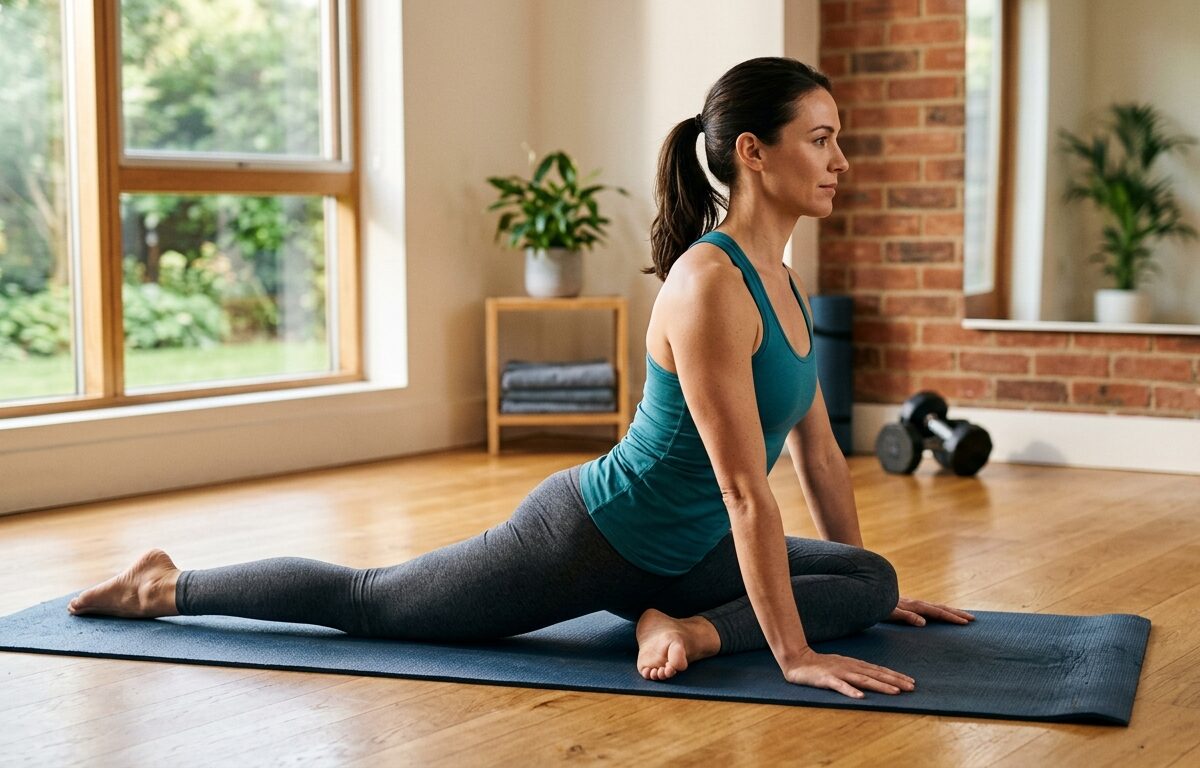
To perform the pigeon stretch, begin in a plank or tabletop position. Bring one knee forward and place it behind the wrist on the same side, while extending the opposite leg straight behind the body. Lower the hips gently toward the floor and keep the chest lifted. For a deeper stretch, lean the upper body forward while maintaining steady breathing. Hold the position for 20 to 30 seconds before switching sides.

When combined with chiropractic adjustments, the pigeon stretch may enhance recovery by supporting muscle relaxation and joint mobility. Regular stretching can also improve circulation, reduce muscle tightness, and help prevent future injuries. However, individuals with hip injuries or severe pain should consult a chiropractor or healthcare professional before attempting the stretch.

Overall, the pigeon stretch is a simple yet effective exercise that complements chiropractic treatment by encouraging flexibility, balance, and healthy movement patterns. Incorporating it into a daily routine can contribute to improved comfort, posture, and overall musculoskeletal health.

Patients often report reduced stiffness, improved hip range of motion, and greater ease during daily activities after consistent practice routinely.

Seated Figure Four Stretch | Brighton Physiotherapy

Seated Figure Four Stretch | Brighton Physiotherapy

Brighton Physiotherapy: The Seated Figure Four Stretch is a highly effective mobility exercise frequently recommended by Brighton Physiotherapy professionals to relieve tension in the hips, glutes, and lower back. This simple stretch is particularly beneficial for people experiencing hip tightness, piriformis discomfort, sciatica symptoms, or stiffness caused by prolonged sitting. At Brighton Physiotherapy clinics, the Seated Figure Four Stretch is commonly included in rehabilitation programmes designed to improve flexibility, mobility, and overall movement quality.

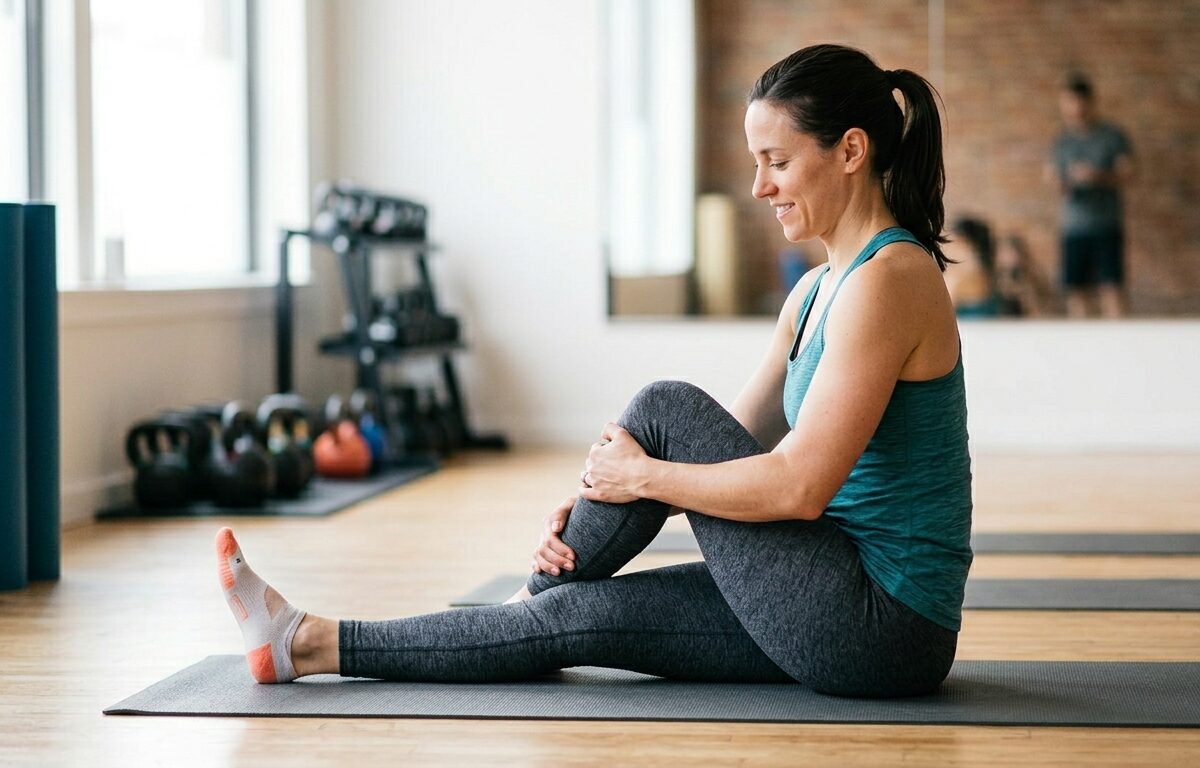
To perform the exercise, sit upright in a chair with both feet flat on the floor. Cross one ankle over the opposite knee to create a “figure four” position. Keeping your back straight, gently lean forward from the hips until you feel a comfortable stretch in the buttock and outer hip area. Hold the stretch for 20–30 seconds while maintaining steady breathing, then slowly return to the starting position before switching sides. Brighton Physiotherapy specialists recommend repeating the stretch several times daily to help improve hip mobility and reduce muscular tension.

The Seated Figure Four Stretch is widely used in Brighton Physiotherapy treatment plans because it is safe, low impact, and suitable for most fitness levels. It is especially helpful for office workers, runners, cyclists, and individuals recovering from lower back or hip injuries. Regular stretching can support better posture, increase flexibility, and reduce pressure on the lower spine and surrounding muscles.

At Brighton Physiotherapy, patients are guided on the correct technique to ensure the stretch is performed safely and effectively. Proper form is essential to maximise results and minimise strain. Incorporating the Seated Figure Four Stretch into a daily routine may help prevent recurring discomfort and improve long-term joint health.

If you experience ongoing hip pain, reduced mobility, or lower back discomfort, the experienced team at Brighton Physiotherapy can provide personalised assessment and treatment to support your recovery and physical wellbeing.

SIJ self manipulation 2 | Brighton Chiropractor

SIJ self manipulation 2 | Brighton Chiropractor. In this post, we will discuss effective techniques for SIJ self manipulation that you can try at home. If you are curious about SIJ self manipulation and want practical advice, you are in the right place.

SIJ Self-Manipulation: Is It Safe to Crack Your Own Pelvis?

If you suffer from lower back pain, hip stiffness, or a deep ache in your buttocks, you might be dealing with Sacroiliac (SI) joint dysfunction. When that area feels locked up, the urge to twist, pop, or stretch until you feel a satisfying “crack” is incredibly tempting. Many people attempt manipulating their own SIJ, but self manipulation can be unsafe.

However, attempting SIJ self-manipulation can often do more harm than good. Understanding how the sacroiliac joint works is essential before attempting to adjust it at home.

The Risks of DIY Joint Cracking

The SI joints connect your spine to your pelvis. Unlike your knuckles or neck, these joints are built for stability, not mobility. They are supported by a powerful network of strong ligaments meant to absorb shock. Yet, self manipulation of the SIJ may put these ligaments at risk.

When you try to self-manipulate your SI joint by forcefully twisting your lower body, you usually aren’t releasing the stuck joint at all. Instead, you are likely hyper-extending the hypermobile joints directly above or below it. This can lead to:

  • Ligament Laxity: Stretching out the ligaments, making the pelvis even more unstable.
  • Increased Inflammation: Aggravating the surrounding nerves and worsening your pain.
  • Muscle Spasms: Triggering defensive muscle guarding as your body tries to protect the unstable joint.

Safe Alternatives to Relief at Home

Instead of forcing a pop, focus on gentle mobilization and stabilization exercises. These alternatives are safer than SIJ self manipulation performed at home.

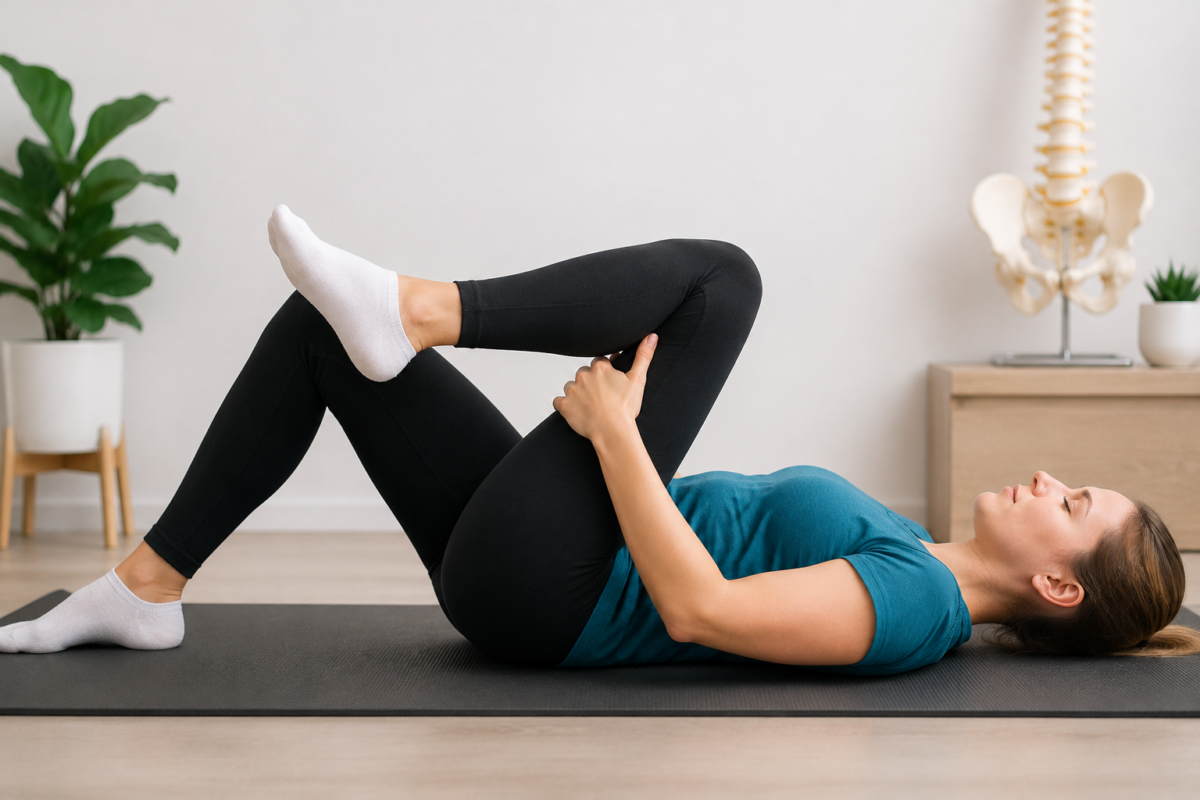
  • The Knee-to-Chest Stretch: Lie on your back and gently pull one knee toward your chest to subtly reset the pelvis.
  • Glute Bridges: Squeeze your glutes and lift your hips to build the strength needed to keep the SI joint in its proper place.

Professional Care for Lasting Relief

If your pelvis constantly feels out of alignment, it is time to skip the self-manipulation and see a professional. Chiropractors use targeted, precise adjustments to restore proper alignment to the SI joint safely, without straining the surrounding ligaments. For anyone frustrated with SIJ manipulation on their own, professional help offers lasting relief.

Stop the cycle of temporary cracking and painful rebounds. Contact our clinic today to book a comprehensive pelvic assessment and find lasting, safe relief.

SIJ self manipulation 1 | Brighton Chiropractor

The Hidden Risks of SI Joint Self-Manipulation: Why “Self-Cracking” Hurts More Than It Helps

Have you ever stood up from your desk, twisted your hips, and welcomed that loud pop in your lower back? If you suffer from sacroiliac (SI) joint dysfunction, that SIJ self manipulation might feel like instant relief. However, trying to “self-crack” your pelvis at home could actually be prolonging your lower back pain and driving you closer to a chronic injury.

Understanding the true mechanics of sacroiliac relief reveals why professional chiropractic care is essential for lasting recovery. It is important to note that SIJ self manipulation carries hidden risks.

Why Self-Cracking Gives False Relief

The SI joints connect your spine to your pelvis, acting as crucial shock absorbers. When your pelvis feels tight or locked up, twisting to force a “pop” releases endorphins and temporarily stretches surrounding muscles.

However, you aren’t actually realigning the joint. Because the SI joint is tightly bound by dense ligaments, forcing a pop usually mobilizes the hypermobile joints above or below the problem area. This creates a cycle of temporary relief followed by recurring, deeper stiffness.

The Dangers of Pelvic Instability

Consistently practicing SI joint self-manipulation can lead to micro-trauma. Repeatedly forcing the joint beyond its normal range of motion stretches the supporting ligaments. Over time, this leads to ligament laxity, causing chronic pelvic instability, muscle spasms, and localized pain in the buttocks or groin that mimics sciatica. SIJ self manipulation increases your risk of these outcomes.

How Chiropractic Care Resolves SI Joint Pain

Instead of aggressive twisting at home, safe recovery requires precision. A licensed chiropractor uses targeted manual therapy to restore proper mechanics:

  • HVLA Adjustments: High-Velocity, Low-Amplitude thrusts precisely target the restricted joint without over-stretching the surrounding ligaments.
  • Gentle Mobilization: Low-force techniques gently guide the pelvis back into alignment.
  • Targeted Rehabilitation: Combining manual care with core-stabilizing exercises ensures the pelvis remains balanced and supported.

Stop the cycle of temporary fixes. Though it may be tempting, SIJ self manipulation is not a safe alternative to professional care. If you are struggling with stubborn lower back or hip pain, schedule a comprehensive pelvic evaluation today to find true, long-term relief.

Scalenes stretch | Brighton Chiropractor

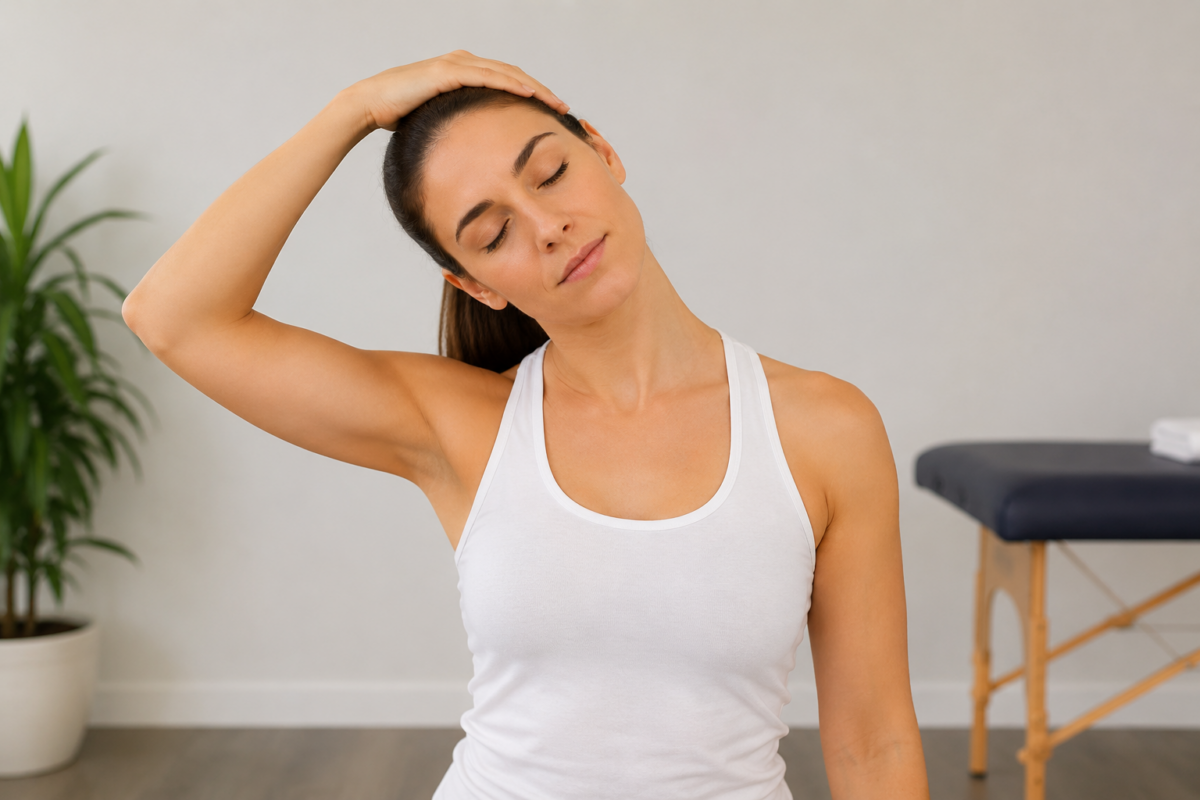
Relief for Tight Necks: The scalenes stretch is one of the most effective techniques your Brighton chiropractor recommends.

Between hours spent hunched over laptops in Brighton’s bustling tech hubs and chilly coastal walks along the seafront, neck tension is a common complaint for local residents. If you constantly feel a deep, stubborn ache at the side of your neck, or if you struggle to turn your head when checking your blind spot on the A23, your scalene muscles might be the culprits. For many experiencing neck discomfort, learning how to perform a scalenes stretch can make a notable difference in daily comfort.

Understanding how to safely stretch these muscles can be a game-changer for your posture, breathing, and overall comfort. With regular practice, the scalenes stretch will support neck relief and enhance your range of movement.

What and Where Are the Scalenes?

The scalenes are a group of three paired muscles (anterior, middle, and posterior) located on either side of your neck. They connect your cervical spine to your first two ribs. Specifically, stretching the scalenes muscles through a targeted scalenes stretch can help with tension.

Because of their location, they play a double role: they help rotate and bend your neck, and they act as “accessory muscles” for breathing by lifting your ribcage when you inhale. When you are stressed, cold, or slouching, these muscles overwork, tighten up, and can even compress nearby nerves, leading to numbness or tingling down your arm. That’s exactly when incorporating a scalenes stretch might relieve tightness.

How to Safely Perform the Scalenes Stretch

To release tension and restore mobility, try this simple, targeted stretch at your desk or home. This scalenes stretch routine is safe and effective for most people.

  1. Sit Tall: Sit upright in a supportive chair with your shoulders dropped down and relaxed.
  2. Anchor Your Ribs: Take your right hand and place it firmly over your left collarbone, applying gentle downward pressure to anchor the first rib. Performing a scalenes stretch correctly helps maximize the benefits.
  3. Tilt and Rotate: Gently tilt your right ear toward your right shoulder. To target the different strands of the scalenes, slowly rotate your chin upward toward the ceiling.
  4. Hold and Breathe: Hold this position for 20 to 30 seconds, taking deep, slow breaths into your belly rather than your chest. Repeat on the opposite side.

Important Tip: Never force a neck stretch. You should feel a gentle, lengthening pull, not a sharp or radiating pain.

When to Seek Professional Chiropractic Care in Brighton

While stretching provides excellent daily maintenance, chronic scalene tightness is often a symptom of an underlying structural issue, such as a misaligned cervical spine or poor rib mobility. In these cases, a scalenes stretch is beneficial, but a chiropractor’s expertise is also necessary.

If your neck tightness is accompanied by headaches, shoulder pain, or tingling in your fingers, a tailored assessment is necessary. At our Brighton chiropractic clinic, we focus on locating the root cause of your discomfort, combining precise spinal adjustments with soft tissue therapy to get you moving freely again. In addition, we may recommend a guided scalenes stretch as part of your care plan.

Don’t let neck pain hold you back from enjoying life on the coast. Contact our Brighton team today to book your comprehensive spinal evaluation.

Book your appointment today at https://ccsussex.co.uk/chiropractic-appointment-brighton/

1 2 3 7